The Definitive Guide to Cleaning and Conditioning Leather Sneakers
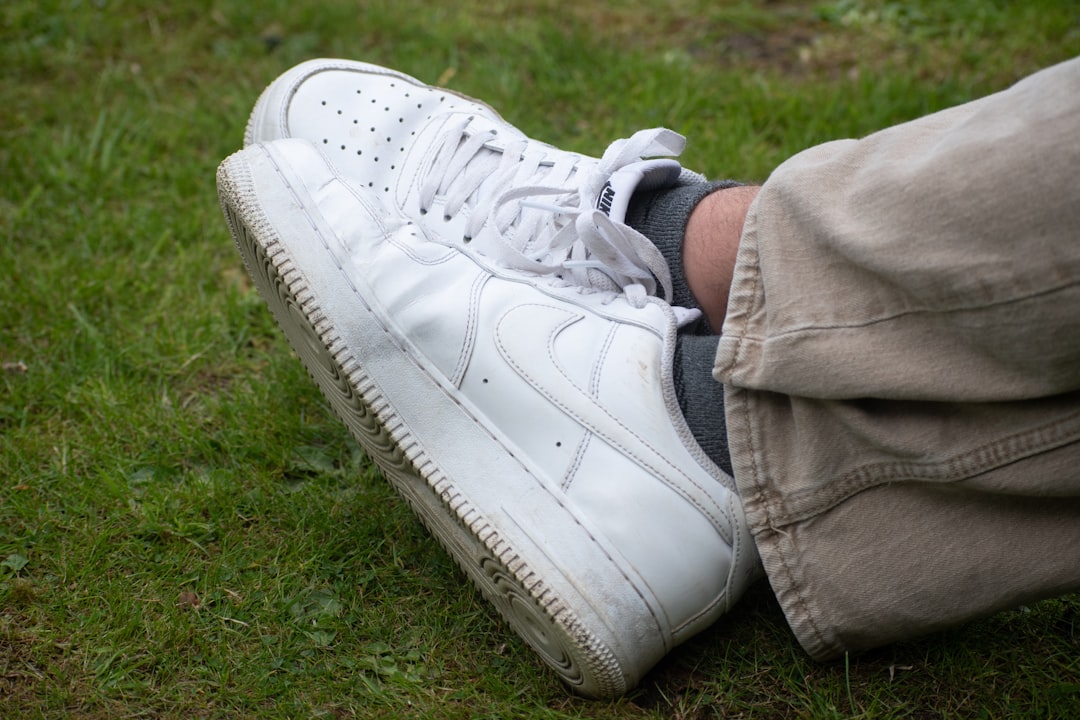
Leather sneakers occupy a unique space in footwear culture. They can be dressed up or down, endure years of wear, and develop a rich patina that tells a story. But that story turns sour when dirt, salt stains, and dried-out creases take over. Proper cleaning and conditioning are not merely cosmetic; they extend the life of the leather, preserve its structure, and keep the sneakers looking as sharp as the day they were unboxed. The process is methodical but not complicated, requiring patience and the right approach rather than expensive equipment.
Before any liquid touches the leather, loose dirt must be removed. A soft-bristled brush or a dry microfiber cloth works well to sweep away surface grit that could otherwise be ground into the pores during wet cleaning. Pay special attention to the tongue, the eyelet area, and the heel counter, where dust tends to settle. For deeply embedded debris in the tread or sidewalls, a gentle tap or a dedicated eraser block can dislodge particles without scratching the leather. This dry step is often skipped, yet it is the foundation of a safe clean.
When the surface is free of loose matter, prepare a mild cleaning solution. Distilled water mixed with a drop of pH-neutral soap or a dedicated leather cleaner is ideal. Avoid dish soaps with degreasers, bleach, or strong fragrances, as these can strip the leather’s natural oils and cause premature cracking. Dip a soft cloth or a brush with horsehair bristles into the solution, then wring it out thoroughly so it is damp, not wet. Leather should never be soaked; excessive moisture forces water into the stitching and the footbed, promoting mold and warping. Work in small circular motions, focusing on one panel at a time. The laces should be removed beforehand and cleaned separately with the same mild soap, then air dried.
For stubborn stains such as ink, grease, or scuff marks, a targeted approach is necessary. A specialized leather stain remover can be applied with a cotton swab, or a paste made from baking soda and water may lift certain marks if left to sit briefly. Test any spot treatment on an inconspicuous area first, such as the inside of the heel. Always err on the side of gentleness: rubbing aggressively can abrade the finish, leaving a dull patch that is harder to fix than the original stain. Patience and repeated light applications yield better results than one harsh scrub.
Once the entire upper has been cleaned, the leather will be slightly damp and stripped of some of its natural oils. Conditioning is the crucial next step. A high-quality leather conditioner, preferably one with beeswax or lanolin, should be applied sparingly using a clean cloth. Rub it into the leather in small, circular strokes, allowing the conditioner to penetrate the pores. Avoid overloading the material; a thin, even layer is all that is needed. Let the conditioner absorb for at least ten to fifteen minutes before buffing off any excess with a dry part of the cloth. This restores suppleness, prevents cracking, and helps repel future dirt.
The drying process after cleaning and conditioning must be gradual. Never place leather sneakers on a radiator, in direct sunlight, or near a hairdryer. Heat causes leather to shrink and stiffen, potentially ruining the fit. Instead, stuff the shoes with clean, white paper towels or a shoe tree to hold their shape and wick moisture from the inside. Allow them to air dry in a well-ventilated room at room temperature. This can take twelve to twenty-four hours depending on humidity and the thickness of the leather. Rushing this step invites mildew and deformation, so patience remains the cardinal virtue.
After the sneakers are completely dry, a final protective step is wise, especially for light-colored leather or sneakers worn in wet conditions. A waterproofing spray designed for leather creates a barrier that makes future cleaning easier and guards against salt and rain damage. Test the spray on a small area first and apply it in a well-ventilated space, holding the can about six inches away. A single light coat is usually sufficient; let it dry for an hour before wearing.
Laces and insoles should not be forgotten. Lace grommets can accumulate dirt that transfers to the leather during lacing, so cleaning the laces with the same mild solution keeps the whole shoe looking cohesive. Insoles can be spot cleaned with a damp cloth and a dab of antibacterial soap, then air dried separately. If the insoles are removable, taking them out during the drying phase speeds up the process and prevents odor buildup.
Beyond the deep clean, routine maintenance reduces the need for intensive sessions. After every few wears, wipe down the leather with a dry cloth to remove surface dust. Condition leather every three to six months, or whenever the material feels dry to the touch. Rotating between multiple pairs of sneakers also gives the leather time to rest and recover its shape. These habits are simple but transform a pair of leather sneakers from a disposable trend into a long-term staple.
The reward for this gentle, stepwise care is a sneaker that ages gracefully, retaining its color, texture, and structural integrity. Leather that is cleaned and conditioned properly not only looks better but also feels more comfortable as it molds to the foot. It sustains the investment made in quality footwear and keeps the sneaker culture connection alive through decades of wear. Whether the leather is smooth, pebbled, or patent, the principles remain the same: dry remove, damp clean, condition, dry slowly, protect. Following this rhythm ensures that every pair of leather sneakers stays worthy of the collection.
Articles